EZYiD Kits
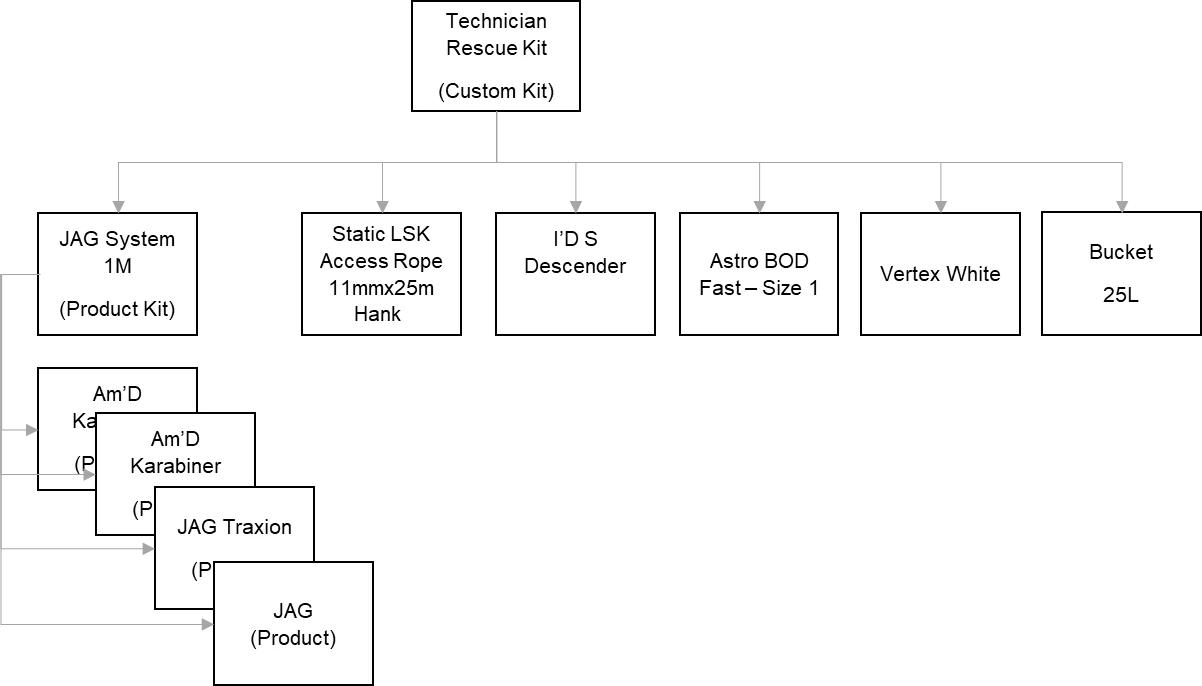
If you wish to group two or more assets with a unique identity, to allow you to transfer and inspect them as one, then the EZYiD kit management system is your solution. The structure of the EZYiD kit management system is based on a parent-child relationship hierarchy requiring the parent asset to be created first prior to adding the child assets to the kit. The EZYiD kit design is flexible enough to reflect most real-life requirements, where a kit can be part of another kit.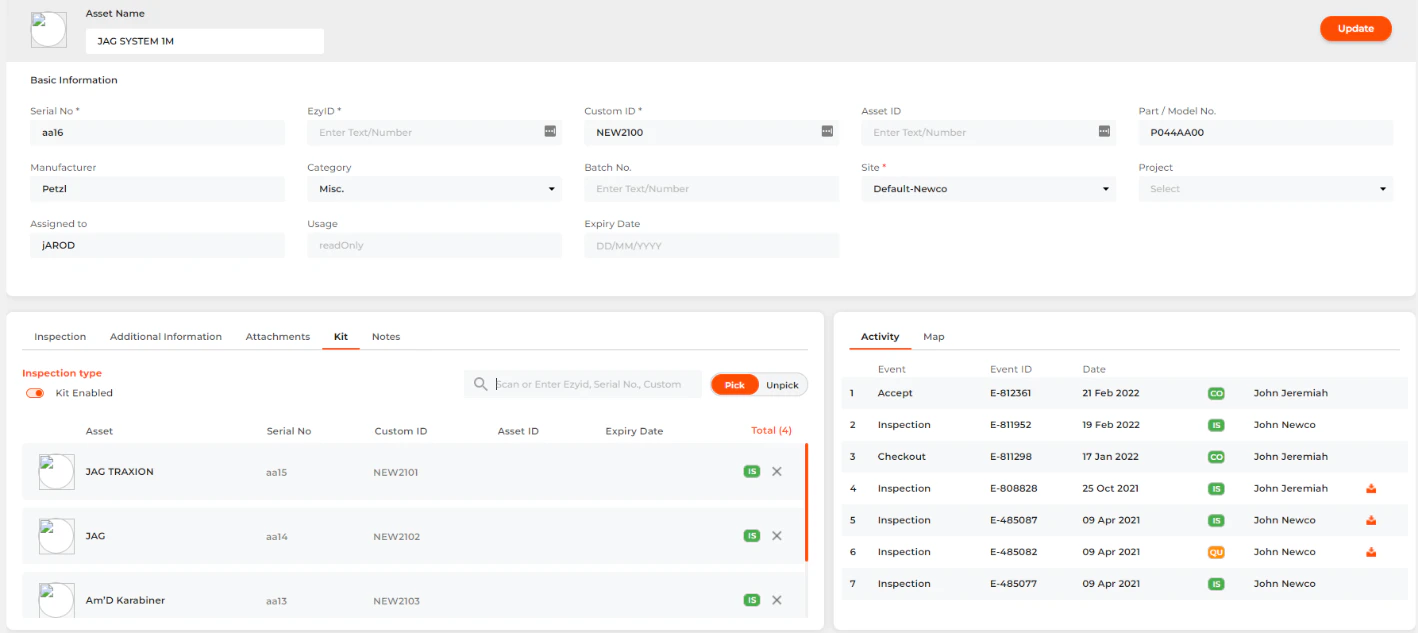
Creating a Kit
This section takes you through the steps of creating a custom kit of individual assets from the asset creation screen. Log in to EZYiD asset management platform- Select “Assets” from the menu on the LHS and then click on the “+” icon in the Table Navigation bar.
- On the “Create a new asset” page, you can create the parent asset. Refer to Mandatory information to create a new asset
Adding Components to your kit
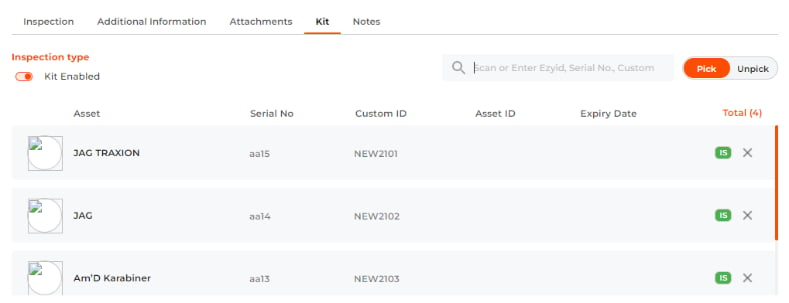
Make sure that you have created your individual assets to be able to add them as components of a kit. Refer to section “Creating Asset”. To add components or assets to the kit, click on the “Kit” tab and enter EZYiD, Serial Number or Custom ID” in the search box. Make sure that all components that you wish to add to the kit are in the same location/ site of the kit. You cannot add assets that have been allocated to another kit or are in a material order. You can also add multiple components from the asst table to a kit.- Select your asset records (ie checkbox) for each record on the LHS
- Click on the more options
 on the RHS table header
 - Select “Add to Kit”
- Select the kit name from the kit selection window.
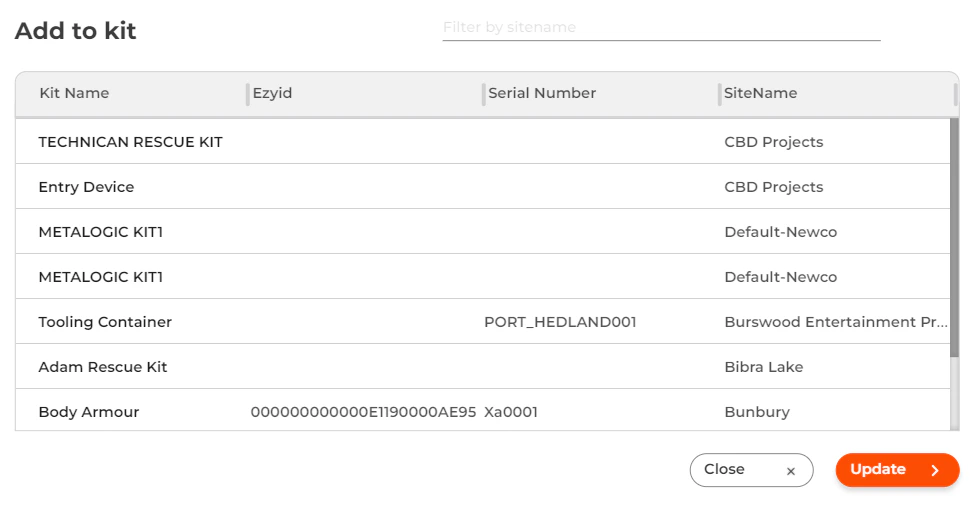
Kit Inspection Management
The EZYiD kit management system allows you to manage the compliance of your kit at either a kit-level or a component-level inspection management process. By default, all assets are configured at the highest level of compliance as a component-level inspection management, requiring every component to be independently inspected. Kit-level Inspection A kit-level inspection is the where the parent asset (kit) controls the compliance status of all components in the kit. All components in the kit, will inherit the compliance status and the completed inspection checklist of the parent asset in the kit. To configure your kit with the kit-level compliance: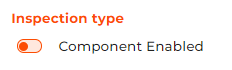
- In the “Kit tab” switch between kit level and component enabled compliance.
- Click on the toggle switch to change the inspection management from the default component-level compliance to kit-level compliance.
- In the event, that any one of the components in the kit were to be independently inspected and moved into “Quarantine”, the parent asset (Kit) will be quarantined, as well.
- To return the kit into service, you will need to return the quarantined component into service, followed by an inspection of the parent asset (kit) as part of returning the kit into service.
- You can also take advantage of the kit-level compliance, undertaking the inspection of the parent asset only to bring the whole kit into service, as long as you have physically inspected and repaired the component and are satisfied to return the whole kit into service.
- All parent assets are configured as a Component-level by default.